A chain link fence installation guide provides step-by-step instructions for homeowners and DIY enthusiasts to build durable, cost-effective fencing for security, privacy, and property enhancement.
1.1 What Is a Chain Link Fence?
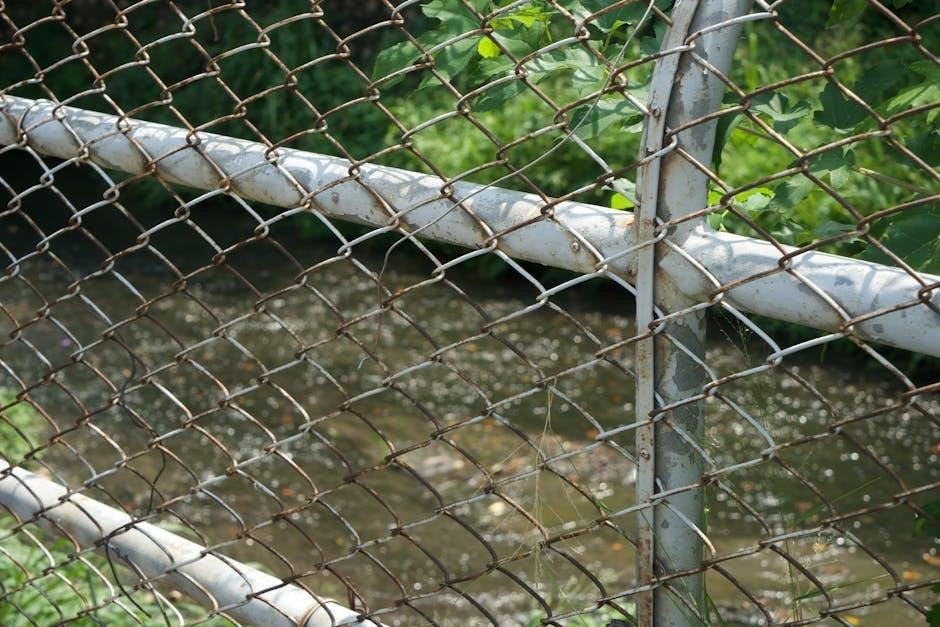
A chain link fence is a durable, flexible fencing option made from galvanized steel wires interwoven into a diamond-shaped mesh pattern. It provides security, enclosure, and versatility for residential and commercial use, with varying mesh sizes and optional color coatings for aesthetic appeal.

1.2 Advantages of Chain Link Fences
Chain link fences offer affordability, durability, and low maintenance, making them a practical choice for homeowners. They provide clear visibility, are easy to install, and can be customized with coatings or privacy slats. Their adaptability to different terrains and long-lasting performance make them a popular option for securing properties effectively.
1.3 Importance of Proper Installation
Proper chain link fence installation ensures structural integrity, durability, and safety. Incorrect methods can lead to sagging, unevenness, or weakened security. Following a guide helps prevent costly repairs, maintains aesthetic appeal, and ensures compliance with local regulations, ultimately maximizing the fence’s lifespan and functionality for years to come.
Planning and Preparation
Effective planning ensures a smooth chain link fence installation. Obtain necessary permits, determine the layout, check property lines, and estimate costs to avoid delays and ensure compliance.
2.1 Obtaining Necessary Permits and Approvals
Before starting, secure permits and approvals. Check local zoning laws, height restrictions, and property setbacks. Ensure compliance with regulations to avoid legal issues. Contact local authorities for detailed requirements and submit necessary documentation; Proper approvals ensure your fence meets community standards and avoids costly modifications or removal.
2.2 Determining Fence Layout and Measurements
Determine the fence layout by measuring the area to be enclosed. Mark property lines and identify terminal posts for corners and gates. Calculate the number of panels, posts, and materials needed. Ensure accurate measurements to fit the space properly. Use stakes and string to visualize the layout, ensuring it aligns with property boundaries and local regulations.
2.3 Checking Property Lines and Setbacks
Verify property lines using survey reports or markers to ensure the fence is installed within your boundaries. Check local setback requirements, which dictate how far the fence must be from property lines, roads, or neighboring structures. Mark the area with stakes and string to visualize compliance, ensuring the layout adheres to legal and regulatory standards.
Tools and Materials Needed
Essential tools include post-hole diggers, concrete mixers, and wire cutters. Materials required are fence posts, chain-link fabric, tension bars, brackets, and concrete for secure post installation.
3.1 Essential Tools for Installation
Essential tools for chain link fence installation include post-hole diggers, concrete mixers, wire cutters, hammers, screwdrivers, and tension bars. These tools ensure efficient and proper setup of the fence framework and fabric.
3.2 Required Materials for Chain Link Fences
Key materials include chain link fabric, terminal posts, line posts, top and bottom rails, concrete, tension bands, bolts, and hinges. These components ensure a sturdy and secure fence structure, meeting both functional and safety requirements.
Installing Fence Posts
Installing fence posts involves setting terminal posts at corners and gates, digging holes, and securing posts in concrete for a stable foundation.
4.1 Setting Terminal Posts
Terminal posts are installed at corners, gates, and ends of the fence. Mark their locations with stakes, ensuring they are level and aligned. Dig holes, pour concrete, and secure posts, allowing concrete to set. Properly spaced and aligned terminal posts provide the structural foundation for the fence, ensuring stability and longevity.
4.2 Digging Post Holes
Dig post holes using a post hole digger or power auger, ensuring they are 12 inches deep and slightly wider than the posts. Mark the center of each hole with a stake, maintaining proper spacing. For stability, dig deeper in soft or unstable soil. Measure and adjust to ensure alignment and uniformity before proceeding to set the posts in concrete.
4.3 Setting Posts in Concrete
Pour concrete into the post holes, ensuring it covers the bottom third of the post. Use a level to ensure the post is plumb and secure. Fill the hole with concrete, smoothing the surface. Allow the concrete to cure for 24-48 hours before proceeding with fence installation. Properly set posts provide stability and durability to the fence structure.

Attaching Chain Link Fabric
Unroll the fabric along the fence line, starting at a terminal post. Secure it using tension bars and bands, ensuring tightness for stability and durability.
5.1 Unrolling and Cutting Fabric
Unroll the chain link fabric along the fence line, starting at a terminal post. Lay it flat, ensuring proper alignment. Cut the fabric to the required length using bolt cutters or a wire cutter. Position the fabric with knuckles facing outward for a secure and visually appealing installation. Ensure the fabric is evenly spread for a professional finish.
5.2 Using Tension Bars and Bands
Insert tension bars into the chain link fabric at the designated terminal points. Secure them using tension bands tightly around the posts. Use a wrench to tighten the bolts evenly, ensuring the fabric is taut. Properly installed tension bars and bands prevent sagging and maintain the structural integrity of the fence, ensuring a secure and professional-looking installation.
5.3 Tightening the Fabric
Once the fabric is attached, use a wrench to tighten the tension bands securely. Start from one terminal post and work your way to the next, ensuring the fabric is taut. Be careful not to over-tighten, as this could damage the fabric or posts. Check for even tightness along the fence line to maintain stability and prevent sagging or loose sections.
Hanging Gates
Hanging gates involves attaching hinges to gate posts and aligning the gate frame with the fence. Ensure proper alignment for smooth operation and secure latching.
6.1 Installing Gate Posts
Gate posts are installed similarly to standard fence posts but must be reinforced for weight and stress. Concrete footings are recommended for stability. Ensure posts are level and aligned with the fence line for proper gate operation. Spacing and height should match the gate’s dimensions for secure and even installation.
6.2 Attaching Hinges and Latches
Attach hinges to the gate frame and secure them to the gate posts using screws or bolts. Ensure proper alignment for smooth gate movement. Install latches on the opposite post, aligning them with the gate’s closing mechanism. Use tension bands or brackets to reinforce the setup, ensuring secure and durable operation of the gate system.
6.3 Ensuring Proper Gate Alignment
Proper gate alignment ensures smooth operation and prevents damage. Adjust the gate frame to align with the fence posts, ensuring it is level and plumb. Check the gate’s swing and ensure it opens and closes evenly. Use a carpenter’s level and adjust hinges or latches as needed. Test the gate under various conditions to confirm alignment and functionality.
Cost Estimation
Cost estimation for chain link fences considers materials, height, and labor. Average costs range from $1,200 to $4,000, varying based on project specifics.
7.1 Factors Affecting Cost
Several factors influence the cost of chain link fence installation, including the height and length of the fence, type of materials, local labor rates, and additional features like gates or coatings.
7.2 Estimating Total Installation Cost
To estimate the total cost, calculate materials and labor. Measure the perimeter, determine post spacing, and count hardware. Average costs range from $1,200 to $4,000, depending on height, type, and location. Include labor fees, which vary by region. Add costs for gates, coatings, or custom features to avoid budget overruns.
Safety Precautions
Always wear protective gear like gloves and eyewear. Ensure posts are stable before attaching fabric. Handle materials carefully to avoid cuts. Keep the area clear to prevent tripping. Avoid overreaching, which could lead to accidents.
8.1 General Safety Tips
Always wear gloves, safety glasses, and sturdy footwear. Maintain a clean work area to prevent tripping hazards. Ensure all tools are in good condition and used correctly. Secure loose clothing to avoid entanglements. Keep children and pets away from the installation site. Regularly inspect equipment and materials for damage before use. Never overload or overreach while working.
8.2 Handling Tools and Materials Safely
Use proper lifting techniques for heavy materials to avoid injury. Store tools and supplies securely to prevent tripping. Ensure all tools are used for their intended purpose. Regularly inspect tools for damage or wear. Keep sharp objects like wire cutters in safe containers. Avoid overloading materials, and always maintain a clean, organized workspace for safe access.
Maintenance and Repair
Regularly inspect your chain link fence for damage or sagging. Tighten loose parts and clean dirt to maintain its appearance. Addressing issues promptly prevents further deterioration.
9.1 Regular Inspection Tips
Inspect your chain link fence regularly for signs of rust, sagging, or loose components. Check for damage from weather or accidental impacts. Tighten any loose bolts or wires, and replace damaged sections promptly to prevent further deterioration. Schedule inspections every 6-12 months to ensure long-lasting durability and security of your fence.
9.2 Common Repairs and Solutions
Common repairs include tightening loose wires, replacing damaged fabric sections, and addressing rust or corrosion. Use wire tighteners for sagging areas and replace broken tension bands. For severe damage, cut out and reweave the chain link fabric. Regularly apply rust-inhibiting coatings to prevent deterioration. If major issues arise, consult a professional for structural integrity and safety.
Additional Resources

For further assistance, download our comprehensive guide or contact professionals for tailored support and materials.
10.1 Downloadable Installation Guides
Access our free PDF guide for detailed chain link fence installation steps. This manual covers tools, materials, and DIY-friendly instructions to ensure a successful project. Perfect for homeowners and professionals seeking clear, actionable guidance.
Download now and start your fencing project with confidence!

10.2 Finding Professional Help
If DIY isn’t your preference, professional contractors can efficiently handle your chain link fence installation. Suppliers like Hoover Fence offer materials and expert advice. They cater to homeowners and contractors, ensuring high-quality results. Contact local installers for customized solutions and seamless project execution, saving time and effort for a flawless finish.